
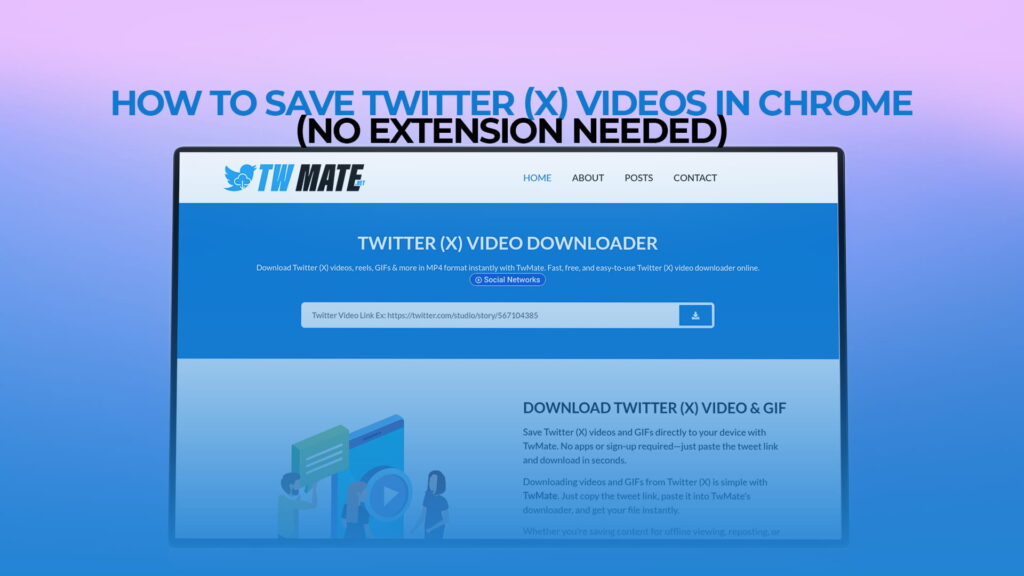
Most guides about saving X videos in Chrome start by telling you to install something. A helper extension, a downloader app, some tool that wants permission to read everything you browse. I’ve never liked that answer. You shouldn’t have to hand over access to your entire browsing history just to keep a two-minute clip.
You don’t have to. Chrome already gives you everything you need, and the whole process takes about ten seconds once you know where the pieces are. This guide covers the copy-and-paste method that works on every version of Chrome, plus a couple of backup approaches for the odd video that gives you trouble.
Why Chrome Doesn’t Have a Save Button for X Videos
Right-click almost any video on the web, and you’ll get a menu with “Save video as.” Try it on X, and that option is usually missing, or it saves something useless.
The reason is technical rather than deliberate. X delivers video as a stream, chopped into small segments that Chrome assembles as you watch. There’s no single file sitting on a server waiting for you to grab it. What you’re seeing is more like a live assembly line than a finished product. Chrome’s right-click menu only knows how to save complete files, so it comes up empty.
That’s also why so many “just right-click it” tutorials don’t work. They were written for a different kind of video hosting, or for a version of X that behaved differently a few years back.
The workaround is straightforward: use something that knows how to reassemble those segments into a normal MP4. That’s what an online downloader does, and you never leave your browser to do it.
The Fastest Method: Copy the Link, Paste It, Download
This is the one I use, and it’s the one I’d recommend to anyone who just wants the video without a project on their hands.
Step 1: Get the link to the post
Open the post that has the video. If you spotted it while scrolling, click the timestamp underneath it (something like “3h” or a date) to open the post on its own page. Now the address bar shows the exact URL you need.
Highlight the URL and press Ctrl+C on Windows or Command+C on a Mac.
There’s a second way that’s slightly faster once you’re used to it: click the share icon under the post (the little arrow) and choose Copy link. Same result, one less step. Either works.
One thing worth checking: make sure you’ve grabbed the link to the post itself, not to the account profile or a search results page. If your copied URL ends in a long string of numbers, you’ve got the right one.
Step 2: Open a downloader in a new tab
Open a new tab in Chrome and go to TWMate. No account, no download, no extension prompt. It’s a page with an input box, which is all it needs to be.
I’d suggest keeping it pinned if you save clips regularly. Right-click the tab, choose Pin, and it sits at the left edge of your tab strip taking up almost no space. Then it’s always one click away.
Step 3: Paste and hit download
Click the input box, press Ctrl+V or Command+V, and click the download button.
After a second or two you’ll get a list of the available versions of that video. Usually there are a few, sorted by resolution. Pick one and click it.
Step 4: Choose your quality
This part matters more than people think. The list you’re looking at reflects what the original poster uploaded. If they posted in high definition, you’ll see a proper HD option. If they posted something grainy from 2019, no downloader on earth can invent detail that was never there.
Go with the highest option when you’re archiving something or plan to watch it on a big screen. Drop to a lower one if you’re sending it in a message or your storage is tight. The file size difference between the top and middle options is often significant, and for a clip you’re going to watch once on a phone, the smaller version is fine.
Click your choice and Chrome downloads it like any other file. You’ll see it appear in the downloads bar at the bottom of the window, or in the downloads icon at the top right depending on your Chrome version.
That’s the whole thing. Four steps, no installation, works identically on Windows, Mac, Linux, and Chromebook.
If you want a fuller walkthrough of the browser-based approach, including some of the edge cases, there’s a detailed version at Twitter X video downloader online.
Where Chrome Puts Your Downloaded Videos
New downloads land in your Downloads folder by default. To get there fast, press Ctrl+J (Windows) or Command+Shift+J (Mac) and Chrome opens its downloads page, where each file has a “Show in folder” link.
If you’d rather send saved videos somewhere specific, change it once and forget about it:
- Click the three-dot menu at the top right of Chrome.
- Go to Settings, then Downloads in the left sidebar.
- Click Change and pick your folder.
There’s also a toggle there called Ask where to save each file before downloading. Turning that on gives you a save dialog every time, which is either helpful or annoying depending on your temperament. I keep it off and just point everything at one folder.
Getting a Clean MP4 File
MP4 is what you want, and it’s what you’ll get from this method. It plays in every browser, every phone, QuickTime, VLC, Windows Media Player, and every editing program worth using. If you’re planning to cut the clip down, add it to a project, or send it to someone on a different operating system, MP4 is the format that won’t cause problems.
Some tools hand you a .webm or an obscure container that half your apps refuse to open. That’s a small headache you can avoid by checking the format before you click. The guide on downloading Twitter X video in MP4 goes into what makes MP4 the safest choice and how to be sure that’s what you’re getting.
Backup Method: Chrome’s Developer Tools
Here’s the approach for people who like knowing how things work, or who hit a video the normal method won’t touch.
Chrome ships with a full set of developer tools. Among other things, they let you watch every file your browser requests while a page loads. That includes the video segments.
Open the post with the video, then press F12, or Ctrl+Shift+I on Windows, or Command+Option+I on a Mac. A panel opens on the side or bottom of the window.
Click the Network tab. Then click Media in the filter row to cut out the noise. Now refresh the page and let the video play.
You’ll see entries appear. Video files typically show up with .mp4 or .m3u8 in the name. Right-click one and choose Open in new tab, and if it’s a complete file, Chrome will play it, at which point you can right-click and save it properly.
Now the honest part: this often doesn’t produce a single clean file. Streamed video comes in fragments, and stitching those back together by hand means using command-line tools, which is a long way past “no extension needed.” I’m including this because it’s genuinely useful for understanding what’s happening under the hood, and because it occasionally works perfectly on shorter clips. As a daily method, it’s not worth the trouble.
Backup Method: Record the Screen
If a video refuses to cooperate with everything else, capture it as it plays.
On Windows 11, press Windows key + Shift + S and you’ll get the snipping toolbar, which now includes screen recording. Windows 10 users can press Windows key + G for the Game Bar and record from there.
On a Mac, press Command + Shift + 5, drag a box around the video area, and record.
Play the clip, let it run through, then stop.
Screen recording works on absolutely anything you can see, which is its whole appeal. Live videos, unusual embeds, posts that behave strangely, it doesn’t matter. The trade-off is that you’re capturing your screen rather than the source file, so quality depends on your display, and you have to sit through the video in real time. You’ll also want to trim the beginning and end afterward.
Keep it as a fallback. It’s the method that never fails, but it’s also the slowest.
A Few Things That Make This Smoother
Open the post first, always. Copying a link from your timeline sometimes grabs a thread or quote-tweet URL instead of the video post. Clicking the timestamp first removes the ambiguity.
Watch out for threads with multiple videos. If a post has several clips attached, you may need to open each one individually to get its specific link. Downloaders generally pull the first video attached to a post.
Sound issues usually mean the source had none. Plenty of X videos are uploaded muted or as silent loops. If your download has no audio, check the original before assuming something broke.
Private accounts are a hard stop. If you can’t see the video without being logged in and approved as a follower, no downloader can reach it either. That’s the platform’s access control doing its job, and it should stay that way.
Deleted posts are gone. Once a post comes down, the video goes with it. This is the strongest argument for saving things you care about when you see them rather than bookmarking and hoping.
Does This Work on Chrome for Android and iPhone?
Mostly yes, with one difference.
On Android, the process is nearly identical. Tap the share icon on the post, choose Copy link, open the downloader in a new tab, long-press the input box, tap Paste, and download. Files go to your Downloads folder and show up in your gallery app after a moment.
On iPhone, Chrome runs on Apple’s browser engine and downloads behave differently. Your file usually lands in the Files app rather than Photos. Open Files, go to Downloads, tap the video, and use the share sheet to save it to your camera roll if that’s where you want it.
Neither requires an extension, which is convenient, because mobile Chrome doesn’t support extensions anyway.
Saving Your Own Videos
If you post video to X yourself, download your own uploads. It takes seconds and it means you actually own a copy.
Accounts get suspended. Posts get deleted by accident. Platforms change their rules, and occasionally they change their entire business model. None of that is paranoid speculation, it’s just what happens to social platforms over long enough timelines. Keeping local copies of your own work costs you nothing but a folder.
The same method works: copy your post link, paste it, download. There’s nothing different about your own content from the tool’s perspective.
A Word on What You Save
Downloading a clip to rewatch, to send to a friend, or to keep in a personal archive is a normal thing to do. Taking someone’s video, stripping their handle off it, and reposting it as your own is not, and everyone knows the difference.
If you’re going to share something publicly, credit the person who made it or just quote-post the original. It costs nothing and it’s how the whole thing is supposed to work. Commercial use of someone else’s footage needs actual permission, not a vague assumption that public posting means public domain.
Which Method Should You Use?
Use the copy-and-paste method. It’s fast, it works on every platform Chrome runs on, it doesn’t require installing anything, and it gives you a proper MP4 at the quality the original was posted in.
Keep screen recording in your back pocket for the rare video that won’t cooperate. Poke at developer tools if you’re curious how streaming works, but don’t rely on it for anything routine.
And skip the extensions. Not because they’re all bad, but because they solve a problem you don’t have. X changes how it serves media often enough that download extensions break regularly, and the ones that keep working tend to ask for permissions well beyond what saving a video should require. A pinned tab does the same job with none of that.
Copy the link. Paste it. Pick your quality. The video is yours.