
Right-click, Save image as, done. That’s what most people do to save a picture from X, and it works. Sort of. What you end up with is a compressed, resized copy that looks fine on your phone and falls apart the moment you open it properly or try to print it.
The full-size version is sitting right there on X’s servers. You just have to ask for it correctly. This guide covers how, along with the faster methods for saving several images at once and the reasons your downloads have been coming out smaller than you expected.
Why Your Saved X Images Look Worse Than the Original
X resizes every image you upload. It has to, or the site would crawl.
When someone posts a photo, X generates several versions at different dimensions, then serves whichever one fits your screen. Viewing on a phone? You get a small one. Desktop with a big monitor? Larger, but still not the full thing. The idea is to save bandwidth and load the timeline quickly, which is reasonable, but it means the version your browser displays is seldom the version that was uploaded.
Right-clicking saves whatever your browser happens to be showing. That’s the whole problem. You’re not saving the photo, you’re saving a preview of it.
There’s also compression involved. X re-encodes uploads as JPEG in most cases, which introduces artifacts around edges and in areas of flat color. You’ll notice it most in screenshots of text, illustrations with sharp lines, and photos with big areas of sky or shadow. PNG uploads sometimes survive as PNG, sometimes don’t, depending on file size and dimensions.
None of this is a conspiracy. Every platform does some version of it. But it does mean the casual save method leaves quality on the table.
The URL Trick: Getting the Original File
This is the method worth knowing, because it costs nothing and works right now in any browser.
X image URLs contain parameters that tell the server which size to send. Change the parameter, get a different size. Ask for the original, get the original.
How to do it:
- Open the post and click the image so it expands to full view.
- Right-click the expanded image and choose Open image in new tab.
- Look at the address bar. You’ll see a URL from X’s media domain ending with something like
?format=jpg&name=smallor&name=mediumor&name=900x900. - Change whatever comes after
name=toorig. - Press Enter.
The page reloads with the original uploaded file. Now right-click and save it.
There’s a shorthand version too. If the URL ends with a plain file extension, you can append :orig to the end and get the same result. Both approaches ask X for the untouched upload.
You’ll usually notice the difference immediately. The image is larger in your browser window, text in screenshots becomes readable, and details that were mush are suddenly there. On a photo posted at high resolution, the difference between the medium version and the original can be several times the pixel count.
A caveat worth stating plainly: this gets you the highest-quality version that exists on X’s servers. It does not restore quality the original poster already lost. If someone screenshotted a screenshot, compressed it, and uploaded it at 600 pixels wide, orig gives you exactly that 600-pixel file. The trick recovers what X hid, not what was never there.
The Faster Route: Use a Downloader
The URL method is great when you’re saving one image and you’re at a desktop. It gets tedious fast when you’re saving twelve, and it’s genuinely awkward on a phone where right-click menus and address bar editing are a chore.
For anything beyond a single picture, paste the post link into a downloader and let it handle the URL manipulation for you.
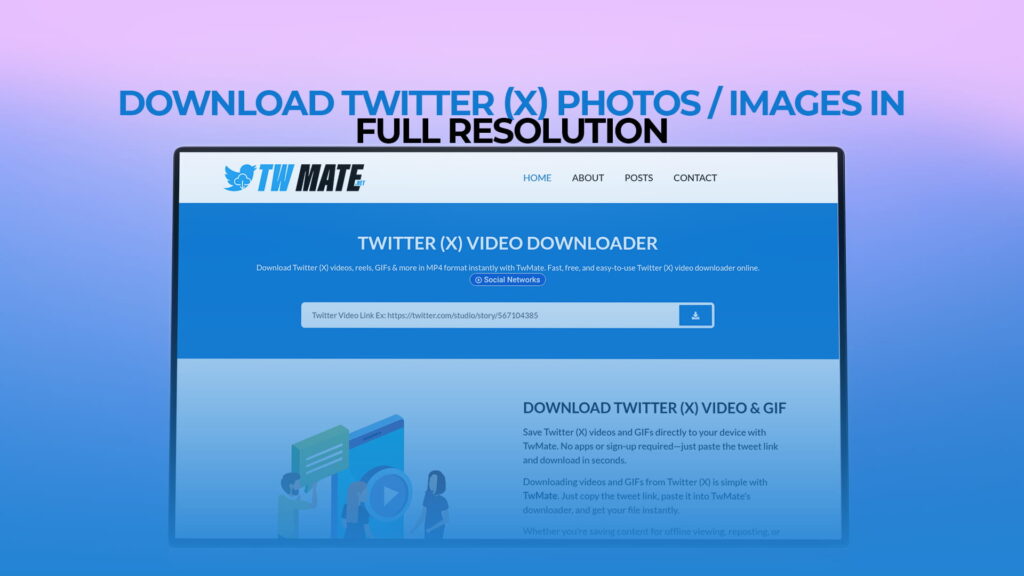
TWMate works for this without an account or an install. The process:
- Open the post with the image or images.
- Click the share icon and choose Copy link, or copy the URL from the address bar.
- Paste it into the input box.
- Hit download, then pick what you want to save.
Where this really earns its keep is posts with multiple images. X lets people attach up to four photos per post, and saving those one at a time through the URL method means expanding each, opening it in a new tab, editing the URL, saving, going back, and repeating. A downloader shows you all of them at once and you grab them in a few clicks.
It’s also the only sane approach on mobile, where the manual method involves fighting with a small address bar and a keyboard.
Saving Images From Threads and Long Posts
Threads complicate things. Someone posts a photo essay across eight replies, and you want all of it.
There’s no single trick that grabs an entire thread’s media at once through the browser, and honestly, anything claiming otherwise is usually an app that wants a lot of access to your account. What actually works is unglamorous: go post by post. Copy each post’s link, run it through, save the images.
The one shortcut that helps is opening the thread in a desktop browser and using middle-click to open each post in a background tab. Then work through the tabs. It’s still manual, but it’s much faster than scrolling back and forth on a phone.
If the thread is something you want as a whole, a full-page screenshot in Chrome or Firefox captures the layout and text alongside the images. Not full resolution, but useful for context you’d otherwise lose.
What About GIFs?
GIFs on X are a special case that confuses a lot of people. What the platform calls a GIF is not actually a GIF file. When you upload one, X converts it to a short looping video, usually MP4, and strips the audio. That’s why you can’t right-click and save a GIF the way you’d save a photo.
To save one properly, you treat it like a video: copy the post link and run it through a downloader that handles conversion. Most will offer you the choice of keeping it as MP4 or converting back to an animated GIF file. Pick GIF if you want it to loop automatically in a messaging app; pick MP4 if you want a smaller file and better quality.
The full process, including where each format makes sense, is covered in the guide on saving GIFs from Twitter X.
Mixed Posts With Both Photos and Video
Plenty of posts have a photo and a video, or a video with an image thumbnail you also want. These are less common because X limits how you can mix media, but they show up.
The approach doesn’t change: copy the post link, paste it, and you’ll get everything attached to that post listed separately. Save what you want. Skip what you don’t. There’s a broader walkthrough of handling mixed media at downloading Twitter videos and GIFs from tweets online if you’re regularly dealing with posts that have several kinds of media attached.
Checking What You Actually Got
Worth doing at least once so you know your method is working.
On Windows: right-click the saved file, choose Properties, then the Details tab. Dimensions and file size are listed there.
On Mac: select the file and press Command+I, or right-click and choose Get Info. The dimensions appear under More Info.
On phone: open the image in your gallery app and look for an info or details button, usually behind a three-dot menu or an “i” icon.
What counts as good depends on the source. A photo taken on a modern phone and uploaded at full quality might land around 4000 pixels on its long edge. A screenshot will match whatever device took it. An illustration could be anything. The number to watch is whether you’re getting something noticeably larger than what the timeline showed you. If your saved file is 680 pixels wide, you saved the preview, not the photo.
Common Reasons Your Download Is Still Small
You right-clicked from the timeline. Saving directly from the feed without expanding the image first gets you the smallest version X serves. Always click the image to open it fully first.
The poster uploaded a small file. Nothing to be done. If they compressed it before posting, that’s the ceiling.
It’s a re-post of a re-post. Images degrade every time someone screenshots and re-uploads. By the third or fourth cycle, detail is gone permanently.
You saved a cropped preview. X crops images in the timeline to fit its layout. If your saved file is missing the top and bottom of the picture, you grabbed the crop rather than the full frame. Expanding the image first fixes this.
Your browser cached an older version. Rare, but a hard refresh with Ctrl+Shift+R or Command+Shift+R clears it up.
Organizing What You Save
If you save images regularly, spend five minutes setting this up and you’ll thank yourself later.
Point your browser’s download folder somewhere deliberate rather than letting everything pile into one Downloads directory. In Chrome that’s Settings, then Downloads, then Change. Firefox and Safari have equivalents under their general settings.
Rename files as you save them, or at least periodically. X image filenames are random strings that tell you nothing. Six months from now, “GhK2mQ8XwAA3nLp.jpg” means nothing, but “reference-lighting-sunset.jpg” means something.
If you’re collecting for a specific project, make a folder per project. This sounds obvious and almost nobody does it, which is why so many people have a Downloads folder with four thousand files in it.
The Part About Other People’s Work
Saving an image for yourself is fine. Keeping a reference folder, holding onto something you found beautiful, archiving a chart you’ll want later, none of that is a problem.
Re-uploading someone’s photo without credit is a different thing. Photographers and illustrators post work on X knowing it’ll be seen, not knowing it’ll be lifted. If you want to share something, quote-post the original or credit the account. It takes one extra second and it keeps the person who made the thing attached to the thing they made.
Commercial use needs actual permission. Not a link in the caption, not a tag, permission. If you’re putting an image in something you’re selling or using it in marketing, ask first or license it properly. “It was public” has never been a legal defense and it isn’t becoming one.
Your own uploads, obviously, are yours. Download them freely. In fact, do it as a habit. Accounts get locked, posts get deleted by mistake, and platforms change. Local copies of your own work cost you a folder and save you a real headache someday.
What I’d Actually Recommend
For one image on a desktop, use the URL trick. It’s free, it’s instant, and once you’ve done it twice you’ll do it without thinking. Open the image, open it in a new tab, swap the size parameter to orig, save.
For anything else, use a downloader. Multiple images in one post, saving on a phone, or working through a batch of posts, and the manual method stops being worth the effort. Paste the link, pick your files, move on.
Either way, stop right-clicking from the timeline. That single habit is why most people’s saved X images look worse than they should, and it’s the easiest thing on this list to fix.